![[How-to] Microsoft Teams: Add Animated Video Background Image (GIF)](/content/images/size/w2000/2021/12/teams-animated-gif-background_header.png)
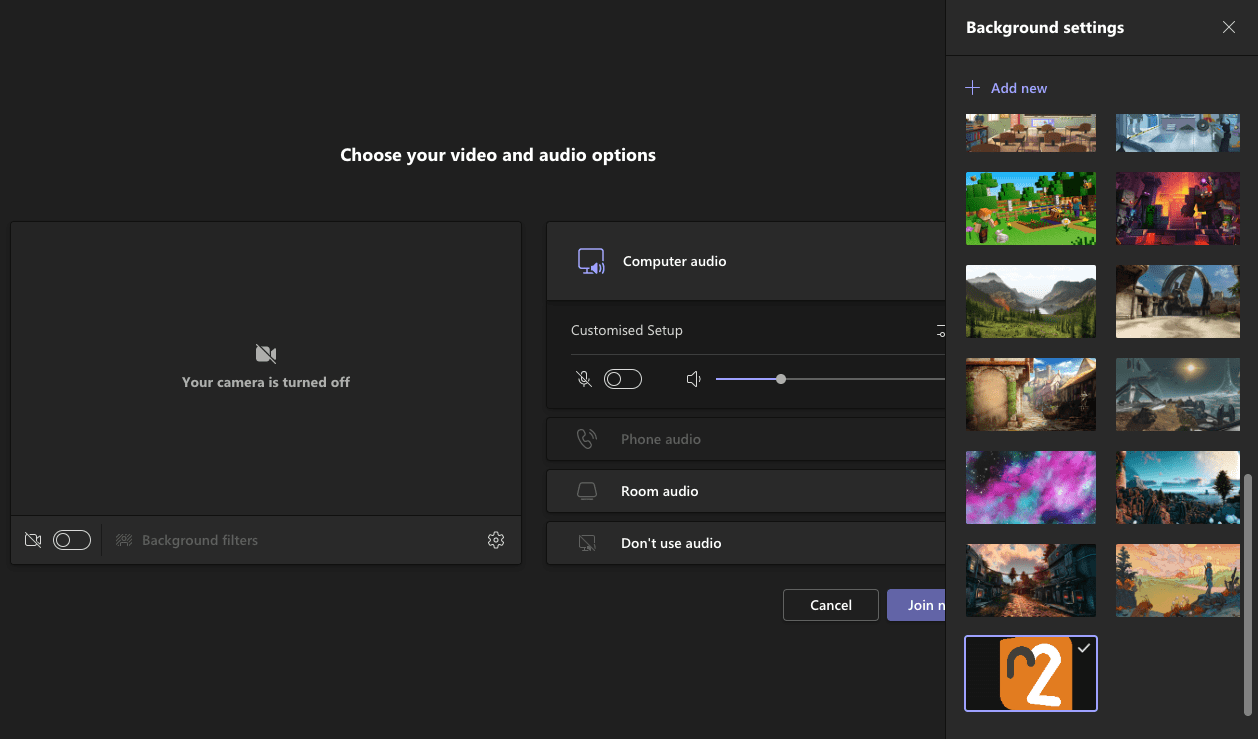
In Microsoft Teams meetings, users with activated WebCams can change their background for more privacy. By default, Teams allows blurring everything instead of the person or replacing the background with an image. It allows choosing one of the predefined images or adding own, custom ones (for example company-specific corporate designs).
Besides classical images, the GIF format allows animations like this:

It would be pretty fancy if such an image can be used in Teams. For companies, new opportunities arise in design. Or nerdy employees, who only want to replace the background with a snowy winter landscape during Christmas time.
The Problem: GIF Images can't be Added in the GUI
Microsoft Teams doesn't allow the upload of GIF images as virtual backgrounds. When trying to change the image format into another one, the upload fails with the error message "Couldn't add background". Also, discussions exists about the topic in the Microsoft Tech Community Forum.
The Solution: Add GIF Images Directly
But there is a little trick that allows adding GIFs and it works on every platform!
Here is the Step-by-Step Guide:
- Choose your animated GIF and change the file extension into
.png. If your image is calledanimated-background.gif, rename it intoanimated-background.png. - Duplicate the file and add a
_thumb(abbreviation for thumbnail) to the name. In our example, the second file is calledanimated-background_thumb.png. - Copy both files directly into the background image folder of your Microsoft Teams installation.
Default Windows location:C:\Users\YOUR-USERNAME\AppData\Roaming\Microsoft\Teams\Backgrounds\Uploads(you can access this folder by pressingWin+R, typing%appdata%in the field and clickingOk).
Default macOS location:~/Library/Application Support/Microsoft/Teams/Backgrounds/Uploads(the~stands for the own home directory). - Restart Microsoft Teams.
- Join a meeting and choose your new, animated background!